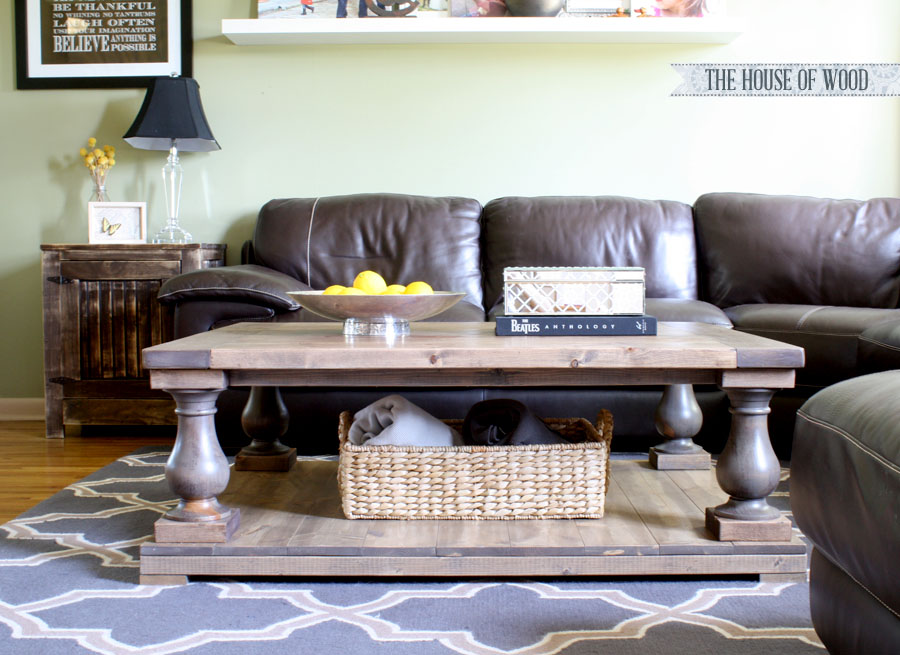
Remember that beautiful Restoration Hardware-inspired coffee table I built for my parents? Well, it was such an easy project and I loved it so much that I decided to make one for our living room! The folks at Osborne Wood were kind enough to send me another set of the turned legs they designed for this coffee table! The legs are custom, but are available for sale here!
I modified Ana White’s plans so that our table would fit more appropriately in our space. I like to think of ours as the baby brother of the original Balustrade coffee table. We needed ours to be more square-ish (it’s a word, don’t judge), so it had to be a bit shorter, but wider at 49-1/2″ long by 38-1/2″ wide. This meant my shopping and cut lists had to be adjusted, of course.
Here are my modifications:
Shopping List:
- 5 – 1x6x8
- 4 – 2x4x8
- 5 – 2x6x8
- 1 – 1×4 @ 15″ long
- 4 – turned legs (Osborne Wood #1332)
- 1-1/4″ and 2-1/2″ pocket hole screws
- 2″ or longer wood screws
Cut List:
- 9 – 1×6 @ 38-1/2″ (bottom shelf)
- 2 – 2×4 @ 49-1/2″ (bottom frame)
- 2 – 2×4 @ 30″ (bottom frame – may need to cut to fit)
- 4 – 1×4 @ 3-1/2″ (feet)
- 8 – 2×6 @ 5-1/2″ (blocks on each leg)
- 2 – 2×4 @ 36-1/2″ (long aprons – may need to cut to fit)
- 2 – 2×4 @ 25-1/2″ (short aprons – may need to cut to fit)
- 7 – 2×6 @ 38-1/2″ (top shelf)
- 2 – 2×6 @ 38-1/2″ (breadboard ends – may need to cut to fit)
I won’t write up a long, detailed tutorial because that one already exists, so here’s a quick run-down:
I like to cut as I go along, so my measurements are more precise and there is no wasted lumber. I cut nine of the 1×6 boards to 38-1/2″ long and then assembled them with pocket hole screws underneath. Next, I measured the long side of the bottom shelf (49-1/2″), cut two 2×4 boards to fit, and attached them to the underside of the bottom shelf. Then I measured the space along the short side of the bottom shelf and cut two 2×4 boards to fit (30″) and attached those to the underside of the bottom shelf as well, to create a frame under the bottom shelf.
After that, I attached a 3-1/2″ square “foot” to each corner of the frame. Then I moved onto assembling the legs and attached them to the bottom shelf, 1″ inset from the edges. Because there are plenty of variables that decide how long the aprons will be, I measured the space between each leg and cut an apron to fit. I ended up cutting four different aprons for each side. The long aprons measured 36-3/4″ and 36-7/8″ and the short aprons measured 25-3/4″ and 25-5/8″. I attached them to the legs with pocket holes.
I assembled the table top in the same manner as the bottom shelf then attached it to the aprons and legs with wood screws and glue. For a more thorough tutorial, check out Ana’s original plans here.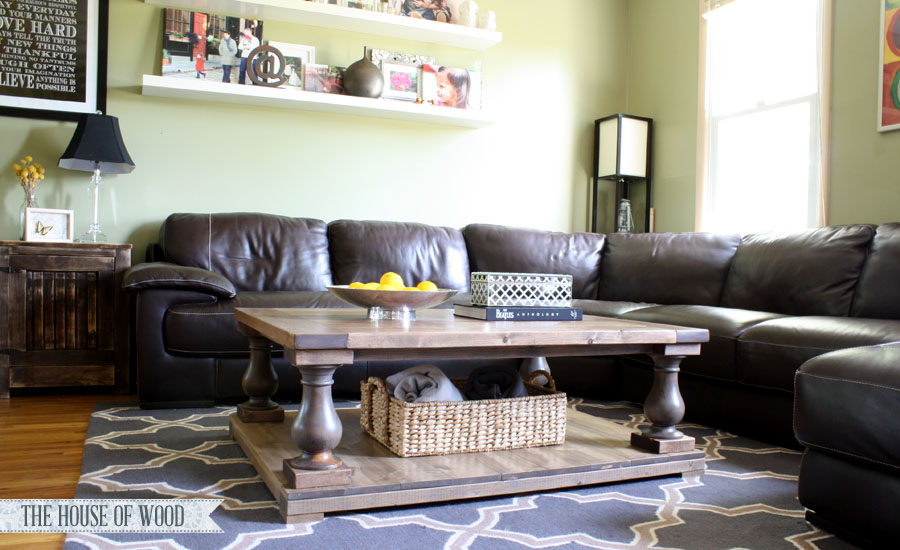
And once again, I’ll never stop singing praises to the mighty belt sander. It’s responsible for my flat-as-can-be tabletop. Love it! After sanding the top and bottom shelf down so that everything was all flush and level, I followed up with my palm sander fitted with 150- and 220-grit sandpaper.
Resources Box – Linking to the same resources page mentioned earlier
Join the Newsletter CTA – This will eventually be embedded with our email autoresponder, but for now just put up some generic text and an image.
Sidebar – We don’t have any planned content for the sidebar, so feel free to put whatever you think looks the best in it.
Footer – Contact Us, Disclaimers etc. — Just make a space for the footer now and we will update it later.